LinkedIn Website Demographics helps you answer the question “Are you attracting the right types of professionals to your website?”.
Up until now, that has been difficult to answer. Google Analytics provides information like where (geographically) visitor are from. But you can’t see professions or job titles in Google Analytics. For that type of information, companies rely on visitors filling out website forms. Unfortunately, only a small fraction of visitors fill out those forms.
What is LinkedIn Website Demographics?
How does LinkedIn Website Demographics help?
Naturally, LinkedIn wants you to use this data in conjunction with their advertising products. However, you don’t have to be advertising with LinkedIn to take advantage of this data.
You can use this data to help determine if you are attracting the right type of prospects to your website. For example, if your specialty is working with lawyers, but you are not attracting lawyers to your website, you will want to make some adjustments.
Or you may discover that most of your website visitors are not from the geographic location that you are targeting.
You can also compare different pages on your website to see which pages and/or content does a better job of attracting your ideal prospects. If you have a blog, this can be a great way to discover your most popular content and create more / similar content. Knowing your most popular content can also help you more effective lead magnets and advertisements.
Getting Started with LinkedIn Website Demographics
To start using LinkedIn Website Demographics, you must first install some code on your website. This code is called the LinkedIn Insight tag. If you’ve ever installed tracking code for Google Analytics, Facebook, etc., you’ll find the process familiar.
The first step is to login to the campaign manager ( https://www.linkedin.com/ad/) . This will bring you to a screen that looks like this:
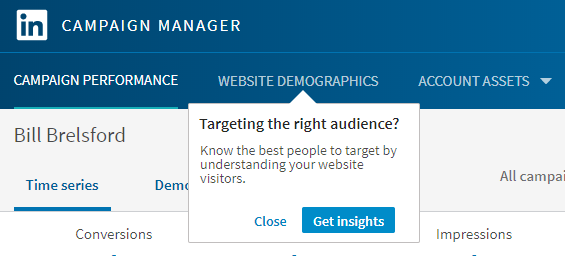
Click on the blue “Get Insights” button. If you don’t see the window above titled “Targeting the right audience?” Then click on “Website Demographics”. (You may also find it under Account Assets | Website Tracking – Insights Tag). That will bring you to this page:
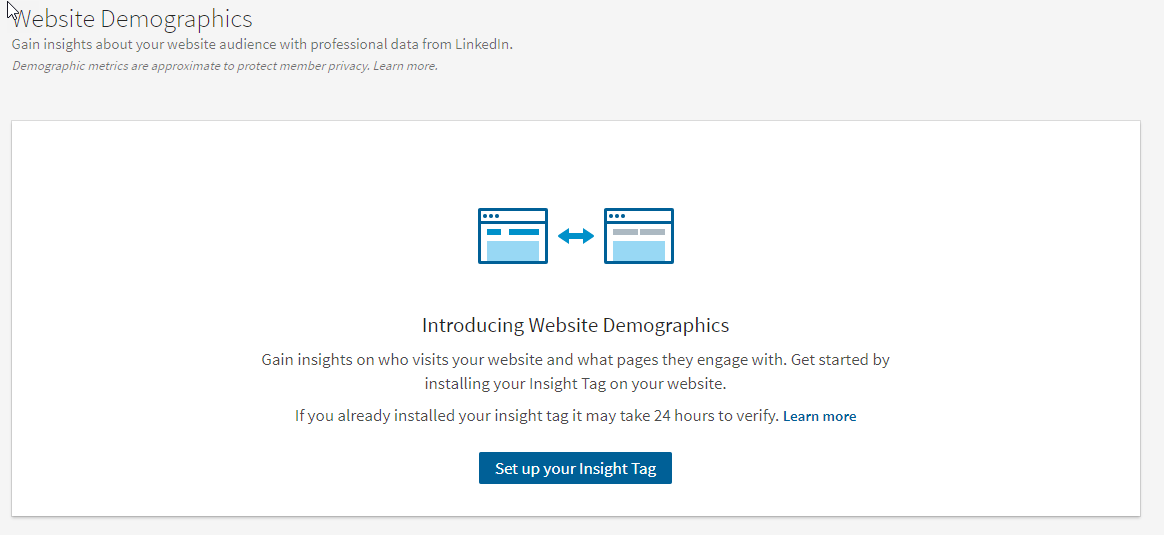
Click the blue button to get your Insight Tag.

The box on the left contains your Insight Tag code.
Adding the Insight Tag Code to Your Website
This code needs to be added to every page of your website. If your website was built using WordPress, chances are your theme as an area where you can insert this code. Otherwise, check with your web developer.
You can either copy your Insight Tag code from the box above, or you can send it to yourself via email by clicking the “Send” button below the box. This option is helpful if you want to forward the code via email to someone on your team (i.e. your web developer).
You also need to add your domain into the box on the right. Once you type in your domain and click “Add”, your domain will be listed in red with the word “unverified” next to it. After someone visits your website and (successfully) triggers the Insight Tag, your domain will be “verified”.
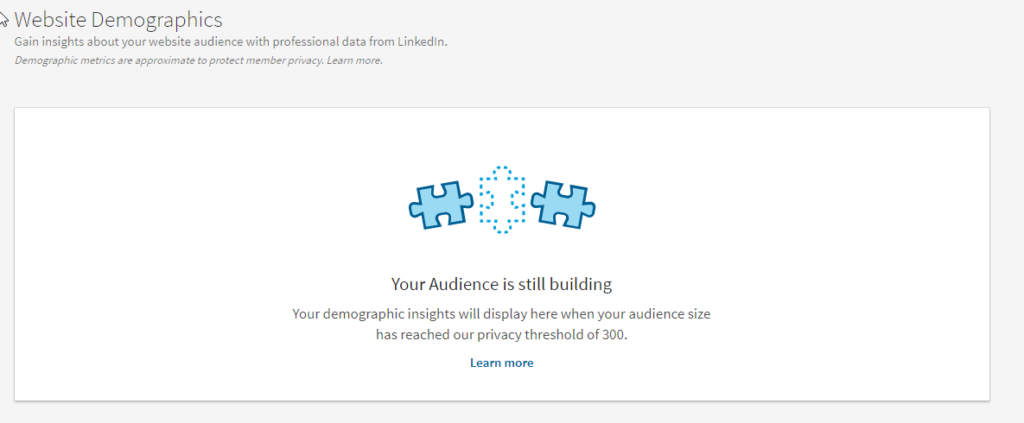
Now that you have everything setup, you’ll need to exercise a little patience as LinkedIn collects information about your visitors. Until then, this is what you will see in your Website Demographics section of the Campaign Manager.
In the meantime, if you would like to see the type of data that will be available to you once your audiences populate, check out this video from LinkedIn:
https://www.youtube.com/watch?time_continue=63&v=uFNGMes58tg